 |
| Copyright 2014 LtDan'sKitchen blogs |
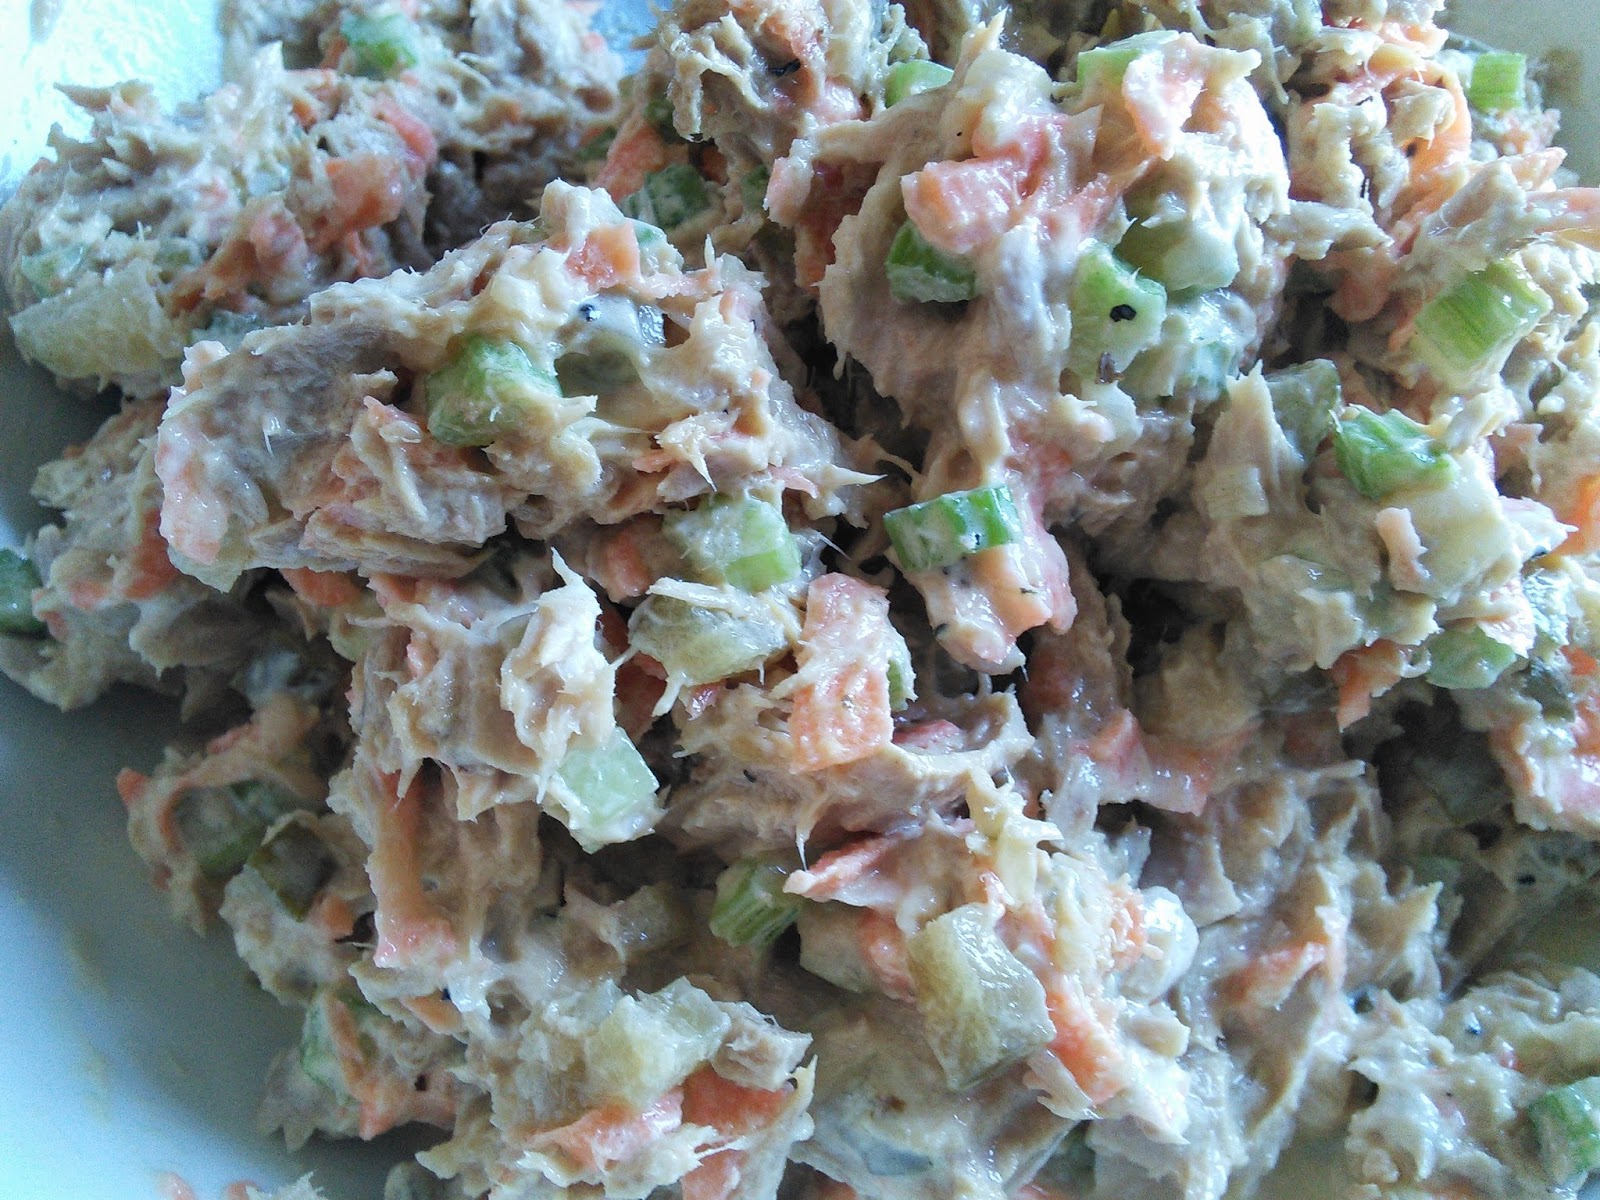
Tuna Salad
3 -184 g cans Century Tuna solid in vegetable oil
2 medium carrots, grated on medium grate
1 onion, diced finely
1 cup mayonnaise
1/4 cup pickle relish
1/4 cup celery, diced finely
salt and pepper
1. To prepare the salad, drain the canned tuna and combine with the onions,
pickle relish, carrots and celery.
2. Add enough mayonnaise until the salad comes together. Season with salt
and pepper. You may not need the whole cup.
3. Store in the fridge covered for at least 2 hours before serving. I like it
best as a sandwich filling but it also goes well with celery sticks and
Romaine lettuce leaves.


