Recipes

Tuesday, November 26, 2013

Chicken Asado

Copyright 2013 LtDan'sKitchen blogs
This is a chicken dish that I never really thought was remarkable enough but given the simplicity of this dish, it just might prove to be a time-saver when you have nothing but chicken in your freezer plus a few spices and seasonings that might already be in your cupboard. I was advised by my doctor to stick to fish and chicken in a bid to lower my uric acid level but since it was not getting to the point where it should be and I really do not want to take any medication, I had to give up chicken as well. This dish was then part of a plan to get rid of the chicken that I bought during my weekend grocery and to have nothing but fish in the freezer. 

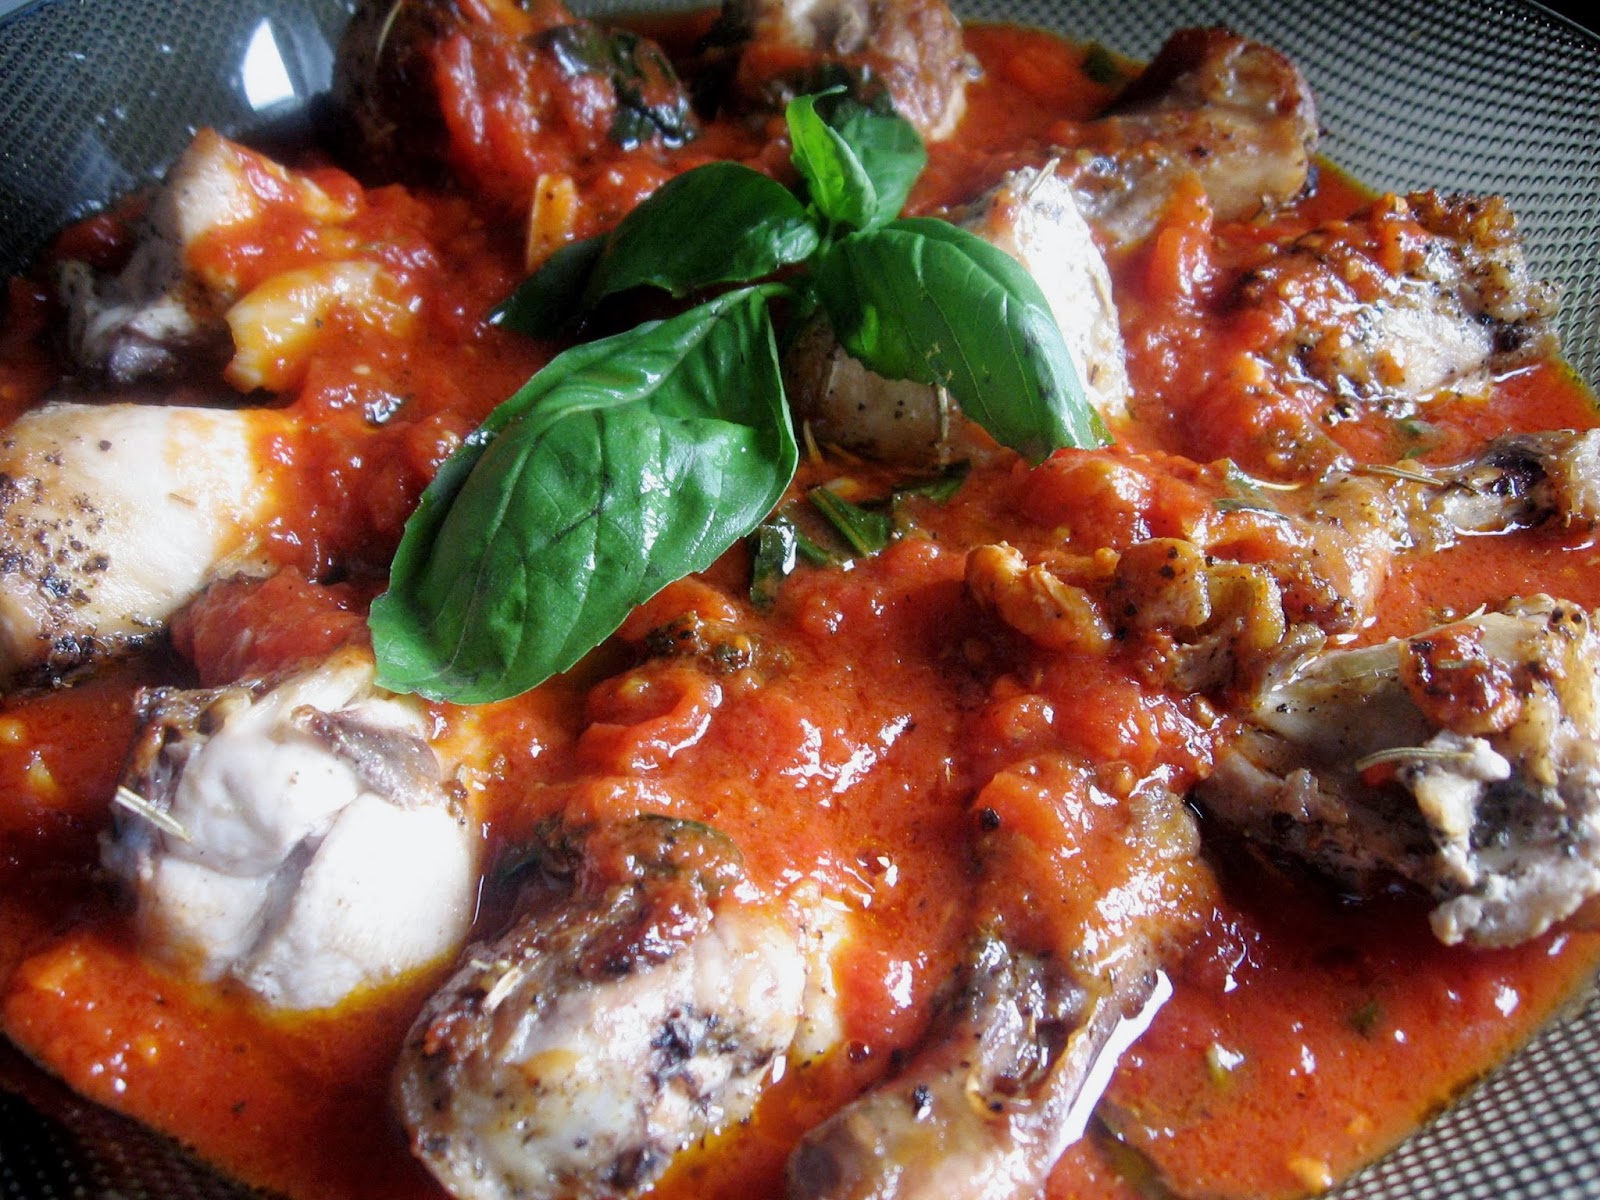
Asado is a common term used in Mexican dishes while living in the US or to put it in the right context, Tex-Mex. There is also a variety of steamed meat buns that has an asado filling but is usually made with pork. It has a sweet unlike the asado of Mexican derivation which is more spicy and is chili-based. It turns out that chicken asado is more of the sour variety with nary the sweetness associated with an adobo dish which is quite similar in terms of preparation. After looking up a few recipes, I came up with a simple version that is sure to please people on the go who wants to eat something nourishing and tasty. 

Chicken Asado

2 lbs chicken cut up
4 small potatoes, peeled and quartered
4 garlic cloves, minced
1 large onion, diced
4 large Roma tomatoes, diced
1/4 cup soy sauce
2 tbsp balsamic vinegar
2 tbsp lemon juice
2 dried bay leaves
salt and pepper
4 tbsp vegetable oil
1 cup water of broth

1. Marinade the chicken in half the garlic, lemon juice, balsamic vinegar, soy 
    sauce and season with salt and pepper. Allow to sit for at least 30 minutes.

2. In a large skillet over medium high heat, saute the remaining garlic with 
    the onions in the vegetable oil. Season with salt and pepper and cook until 
    soft and fragrant. Add the bay leaves and cook for another minute. 

3. Add the marinated chicken and brown them in the skillet on all sides. Save 
   the marinade. 

4. When the chicken has browned, pour the marinade and the water or broth 
    and bring to a boil. Once boiling, add the tomatoes and cook covered for 
    about 10 minutes.

5. Remove the lid and add the potatoes. Lower the heat to medium low and 
    simmer covered until the potatoes are tender but still holds its shape. 

6. Check for flavor and adjust accordingly. Serve with steamed white rice.

If you want the dish to be a bit thicker, raise the heat back to medium high and allow the sauce to reduce. If the potatoes and chicken pieces are getting overcooked, spoon them out and reduce the sauce on its own. Make sure you check the flavor as it might be too salty so you may have to add some water. Pour the sauce over the chicken pieces and potatoes and serve immediately.

Monday, November 11, 2013

Honey Chocolate Cake with Rum

Copyright 2013 LtDan'sKitchen blogs
One time, I went to my favorite cake place to buy eclairs for my friends and I tried one of their cakes that I often ignore. It was a simple chocolate cake that was flavored with run aptly named, Very Sinful Chocolate Rum Cake. Since then, I have been plagued as to how I can recreate what I just tasted since it was so good to the very last morsel. My first attempt was when my friends were in town to attend the local festival a few weeks ago. I baked a simple chocolate cake that I infused with rum. The verdict: the cake was moist but the rum flavor was missing. Since cake number one was a bust, I needed to find another reason why I needed to bake a second chocolate cake since I'm on a regimented diet. Well, that reason came sooner than I expected. 

Copyright 2013 LtDan'sKitchen blogs
My second attempt on a Rum Cake came a few weeks later during the November 1st celebration. Armed with a new recipe, I was determined to use more rum to make the cake every bit as rummy as it is yummy. The recipe I used is a honey chocolate cake, the link to the recipe I already posted on the facebook page of my blog. I also decided to use a sugar syrup infused with rum to soak the cake but I ended up ditching the syrup as I feared the cake might end up too sweet. This is one mistake that I regret now. My one other regret is that I used the accompanying recipe for the ganache when my instincts told me to use my old recipe.  The cake came out great but there was one thing that still eluded me, the rummy moistness. I think my version of the cake came quite close but using the sugar syrup flavored with rum would have imparted the even flavor of the rum which is what I was looking for. Despite the fact that the ganache recipe I followed was good, it did not set as beautifully as my old ganache recipe. Anyway, the third time might prove to be my charm, whenever that will be. 

Honey Chocolate Cake with Rum - Adapted*

1 cup cocoa powder
1 1/2 cup hot strong brewed coffee
1 cup honey
3 cups flour, sifted
1 1/2 tsp baking powder
1 1/2 tsp baking soda
1 tsp salt
3/4 cup unsalted butter + extra
3/4 cup vegetable oil
1 cup packed brown sugar
1 cup white sugar
4 large eggs
3/4 cup yogurt
2 tsp vanilla extract
1/4 cup rum

Chocolate Ganache with Honey:
16 oz bittersweet chocolate, chopped
2 cups heavy cream
1/4 cup honey
2 oz  unsalted butter
3 tbsp rum
1 tsp vanilla extract

1. Line the 2 9-inch round baking pans and grease with the extra unsalted 
    butter. Set aside. Preheat the oven to 350°F.

2. Sift the cocoa powder in a small bowl and whisk in the hot coffee. Add 
    the honey and mix well. Set aside and let cool completely.

3. In another bowl, sift the flour, baking powder and soda and the salt. Set 
    aside. 

4. In a metal bowl, beat the butter at medium speed while gradually adding 
    the oil. Add the brown and white sugar and increase the speed to high. 
    Beat until light and fluffy. 

5. Add the eggs one at a time beating well after each addition. Add the 
    yogurt and vanilla extract and beat until just incorporated. 

6. With the mixer on low, alternately add the flour mixture in three additions
    with the cocoa mixture in two additions. Beat until just combined. 

7. Divide the cake batter into the two pans and bake for 40 to 50 minutes or 
    until a toothpick inserted comes out clean. 

8. Allow the cakes to cool in the pan for 10 to 15 minutes. Run a knife on the
    sides and invert the cake. Remove the parchment and let cool completely. 

9. Prepare the ganache. Combine the cream and the honey and at low heat, 
    bring to a simmer. Remove from heat and add the chocolate. Allow to 
    stand for a minute and whisk until melted. 

10. Add the butter and allow to melt. Whisk in the rum and continue to mix 
     until smooth. Cover with a clingfilm and allow to cool until the ganache 
     is almost set but still spreadable. This can take half a day to 24 hours.

11. To assemble the cake, brush the rum on the cake layers and spread about
      a third of the ganache on one of the cake layers. Top with the second 
      cake layer. Spread a thin layer of the ganache to cover the whole cake.
      Cool in the fridge for about an hour to set the crumb coat. Cover the 
      cake with the rest of the ganache.

The cake can be made a day ahead and stored at room temperature covered with clingfilm. The ganache can also be made a day ahead. The cake tastes better a day or two after assembly. You can serve the cake at room temperature but I prefer it served cold.

*Recipe from Fine Cooking by Jill O'Connor, Issue 119.
            

Thursday, November 7, 2013

Marinated and Seared Chicken with Tomatoes and Basil

Copyright 2013 LtDan'sKitchen blogs
Looking for a healthy recipe to accompany my baked flounder on the family's November 1st celebration, I decided to use one of Lidia's recipe. The original recipe actually used chicken breasts of which I am not a big fan of, so I decided to use regular chicken pieces and change the recipe just a tiny bit. The result was really good and even though I only tasted a small portion of it, this dish to me says nothing else but, ITALY!

Just in case you are wondering what is the relevance of November 1st, well, it is the time of the year when we remember our family members who have died. Although All Soul's Day falls on November 2nd, for some strange reason, Filipinos celebrate this special day a day early. We also usually prepare a lot of dishes cooked in coconut oil but since my Mom is no longer around, it is me or my cousin who does the most work during family occasions. We both decided to go simple so I made the main dishes (and I went the Italian route) while she made the native dishes that uses either coconut milk or just plain grated coconut meat. This recipe is indeed a strange departure from the usual dishes prepared on this special day but it surely made our lives a lot more easygoing that day.

Marinated and Seared Chicken with Tomatoes and Basil - Adapted*

2 lbs chicken pieces
4 garlic cloves, crushed
1 tsp dried rosemary
1 tsp dried sage
1/2 cup olive oil
1 tsp salt
1/4 tsp pepper

Sauce:
1 28-oz whole tomatoes, canned
8 garlic cloves, sliced
1/8 tsp red chili flakes
salt
1/2 cup basil leaves, julienned

1. In a large bowl, combine the chicken with the garlic, dried herbs, half the 
    olive oil and season with salt and pepper. Cover with a clingfilm and store 
    in the fridge overnight. 

2.  In a deep skillet over medium heat, add the remaining olive oil and once 
     heated, fry the chicken pieces in small batches until browned and cooked 
     through. Set aside. 

3. In the same skillet, add the garlic into the drippings and saute until golden 
    brown. Add the chili flakes and saute for a minute. 

4.  Pour the tomatoes into a bowl and crush them with your hands. Wash off 
     the can with a cup of water and add to the bowl of crushed tomatoes. 
     Add into the skillet and bring to a boil.

5. Once boiling, decrease the heat to low and allow to simmer covered for 10 
    minutes. 

6. Check the sauce for flavor and season with salt. Add the basil leaves and 
    stir. Cook for another minute. 

7. To serve, ladle about half the sauce in a serving platter. Arrange the 
    chicken pieces and sppon the rest of the sauce on top of the chicken. 
    Garnish with a sprig of basil.

*Lidia's Italy: Seared Marinated Chicken with Tomatoes and Basil.
 

Buttered Fried Chicken

Copyright 2013 LtDan'sKitchen blogs
This one is definitely in the books for any cardiologist as a definite NO when asked if fried chicken is okay. To top it off, this version was deep fried in butter. Yep, pure, unadulterated unsalted butter. Hey, at least it is unsalted. 

Anyway, the "restaurants" or eateries in the municipality of Miagao offer what they call buttered fried chicken which has become a favorite whenever we eat out. They offer three versions I believe. There is the garlic fried chicken, the regular and then the buttered kind which is our favorite. Well, my favorite anyway.

On a dare, we decided to make this for dinner. This was actually paired with the Chicken Skin barbecue and a side of Mung Bean Stew. So technically, all three were off limits to me. I ended up eating a piece of the buttered chicken and a stick of the barbecue for dinner that night. Hey, the cook has got to eat!

Buttered Chicken

2 lbs chicken pieces
salt and pepper
2 sticks unsalted butter (1 cup)

Seasoned Flour:
1 cup all purpose flour
1 tsp salt
1/4 tsp pepper

Seasoned Bread Crumbs:
2 cups panko bread crumbs
1/2 tsp salt
1/4 tsp Spanish paprika
1/8 tsp cayenne pepper
1/4 tsp dried thyme

Egg Wash:
2 large eggs beaten with
2 tbsp water

1. Season the chicken pieces with salt and pepper. Let sit for about 5 
    minutes. 

2. Melt the butter in a deep skillet over medium low heat. While butter is 
    melting, dredge the chicken pieces in the flour mixture. Tap off the 
    excess flour. Do this individually or in small batches. 

3. When the butter has melted and ready for frying, dip the dredged 
    chicken pieces in the egg wash and then roll in the bread crumb mixture. 
 
4. Drop the breaded chicken in the butter and fry about 4 to 5 pieces at a 
    time. Increase the heat to medium and fry until golden brown on both 
    sides. Drain on brown paper bags or paper towels. 

5. Fry the rest of the chicken pieces in small batches. 

Baked Flounder

Copyright 2013 LtDan'sKitchen blogs
I was going through the fish aisle in the grocery store when I spotted this rather flat looking fish which after asking the fishmonger was what I thought it was, a flounder. I  asked my Dad if he wanted to try it and he said , "No!" My Dad has a thing for the bigger species of fish, he prefers them small. 

The following day however, I spotted the same fish in the other grocery store that I frequent and right there and then, I bought two of them to cook for the November 1st celebration instead of the usual pork or meat dishes that we serve. The question now is, how to cook it. Flounder are sold fileted in the grocery stores back in the US. I have the real deal so I need to find a good way to cook it other than to fry it which was a suggestion by the fishmonger. 

After browsing through the internet, I found a simple recipe that lends an Italian flair to the dish. Baked in nothing more than olive oil, tomatoes and a few herbs and spices, I knew I found my recipe. 

Baked Flounder - Adapted*

2 lbs flounder, gutted and descaled
1 lb cherry tomatoes, halved
8 garlic cloves, crushed
2 tbsp basil leaves, julienned
juice of one lemon
1/4 tsp Herbes de Provence
salt and pepper
olive oil

1. Preheat the oven to 375°F. In a bowl, combine the tomatoes, garlic, basil
    leaves, Herbes de Provence and lemon juice. Season with salt and pepper. 
    Drizzle in about 2 tbsp of olive oil and transfer to a lined baking sheet.

2.  Bake the tomatoes in the oven for about 5 minutes. Meanwhile, season 
     the fish with salt and pepper on both sides.

3. Lay the fish on top of the pre-baked tomatoes and drizzle with more olive 
    oil. Return into the oven and bake for another 25 to 30 minutes.  Check if 
    the fish is cooked through. Otherwise, bake for another 5 to 10 minutes.

4. To serve, transfer the fish into a large serving platter and spoon the 
    tomatoes and the sauce on top. Garnish with a drizzling of more olive oil 
    and more julienned basil leaves. 

*Bon Appetit: Baked Flounder with Tomatoes and Basil.